top of page


Products
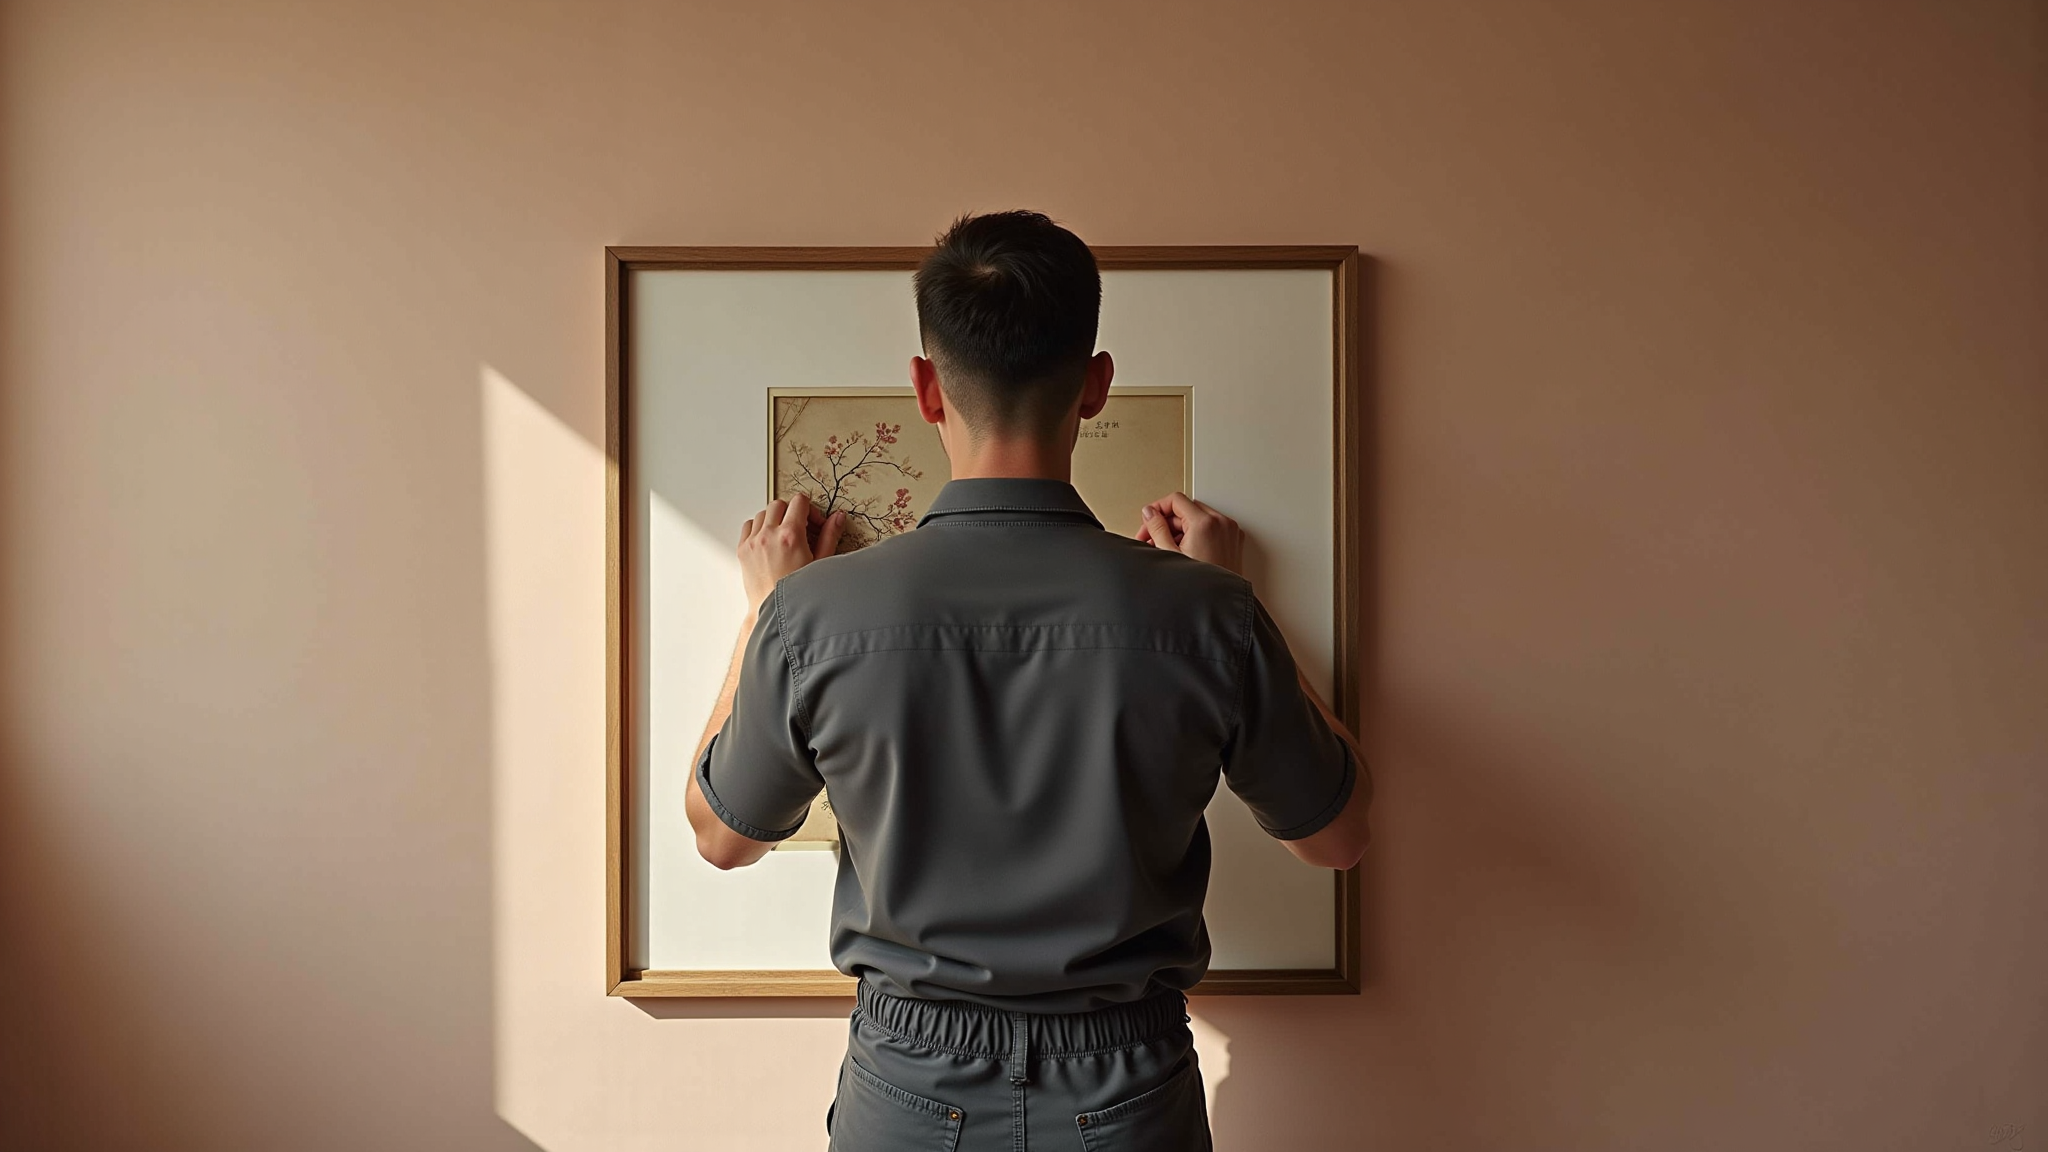
We create exceptional display solutions for all your pictures and artworks. Specializing in everything from adaptable picture hanging rail systems to custom and modular museum & exhibition cases.
Explore our featured picture hanging systems here, and connect with us if you need something truly unique for your display needs.


Explore Artworks and Artists - Coming Soon


Our Story
Gorgeous Creation Ltd, based in Hong Kong, specializes in picture hanging, framing, and display solutions. We are a dedicated team committed to providing exceptional service to showcase your art and memories beautifully.
Info & FAQs
Frequently asked questions
General Questions
Picture Rails
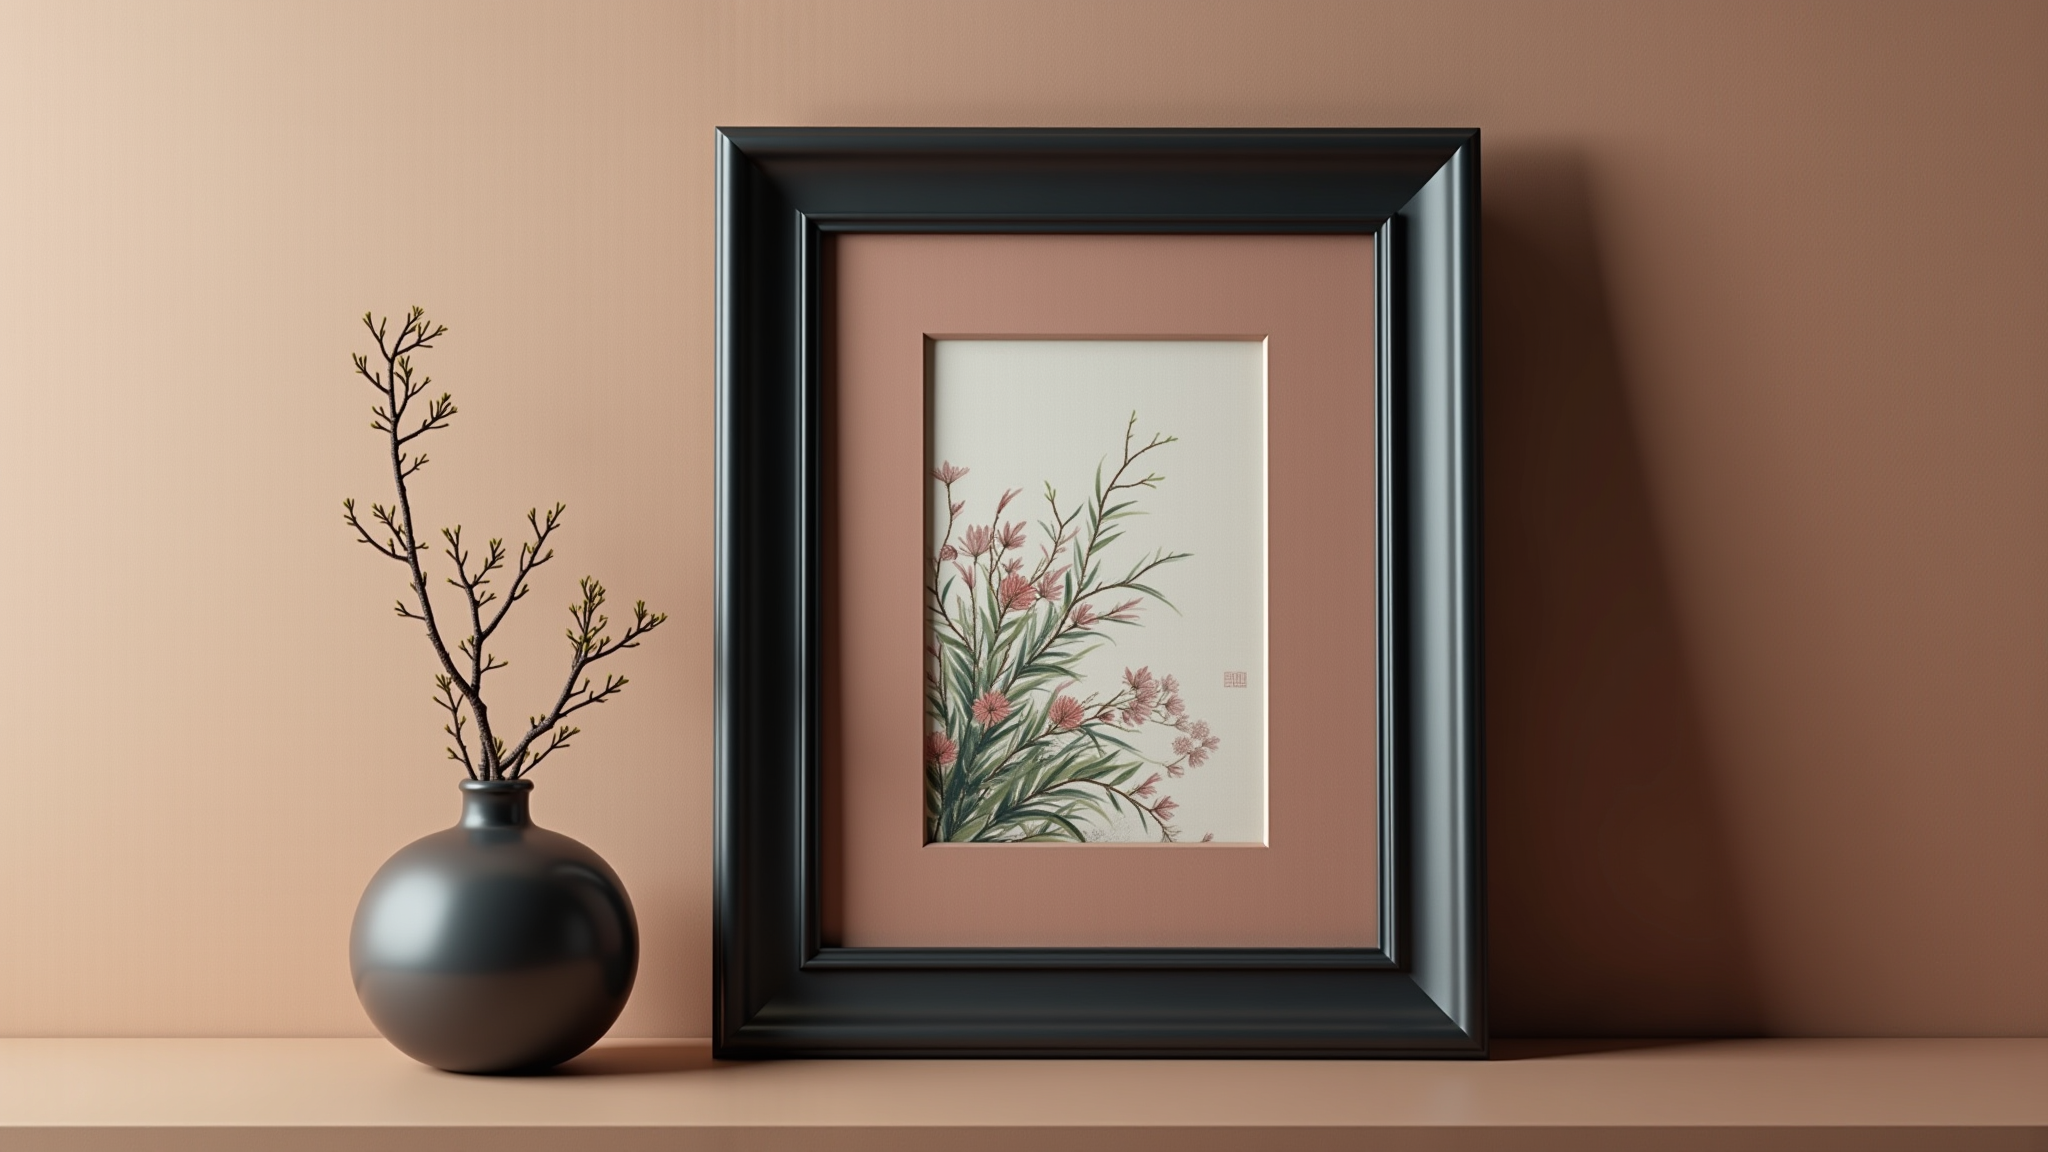
Picture Framing
- 01
- 02
- 03
bottom of page